This series grew out of one I began in 2014 in Chiang Mai, Thailand where I came across many found piles of plant parts. This one at Wat Ram Poeng struck me the most for its unintentional composition.
I enjoy working with and in nature and hope that in doing so, more people will take the time to notice, value and care for what surrounds us—our natural environment, our neighbourhoods, our home.
Locations, descriptions and other contributions can be found @naturepilelove. Go make some and share your creation with us... #naturepile
For the teachers who have been asking, here’s something for you to use or adapt. Have fun with your student artists!
Make a naturepile!
Explore and survey your location to determine if it’s an interesting area to collect—Is there enough (fallen) natural debris to work with? Look for a flat place to build and consider wind and sunshine—I prefer creating in the shade on super sunny and hot days : )
Collect from the area looking for similar groups of items (colour/shape/texture) that can create patterns in your design. You can also choose to work with just one group, like using a single type of flower for the entire piece.
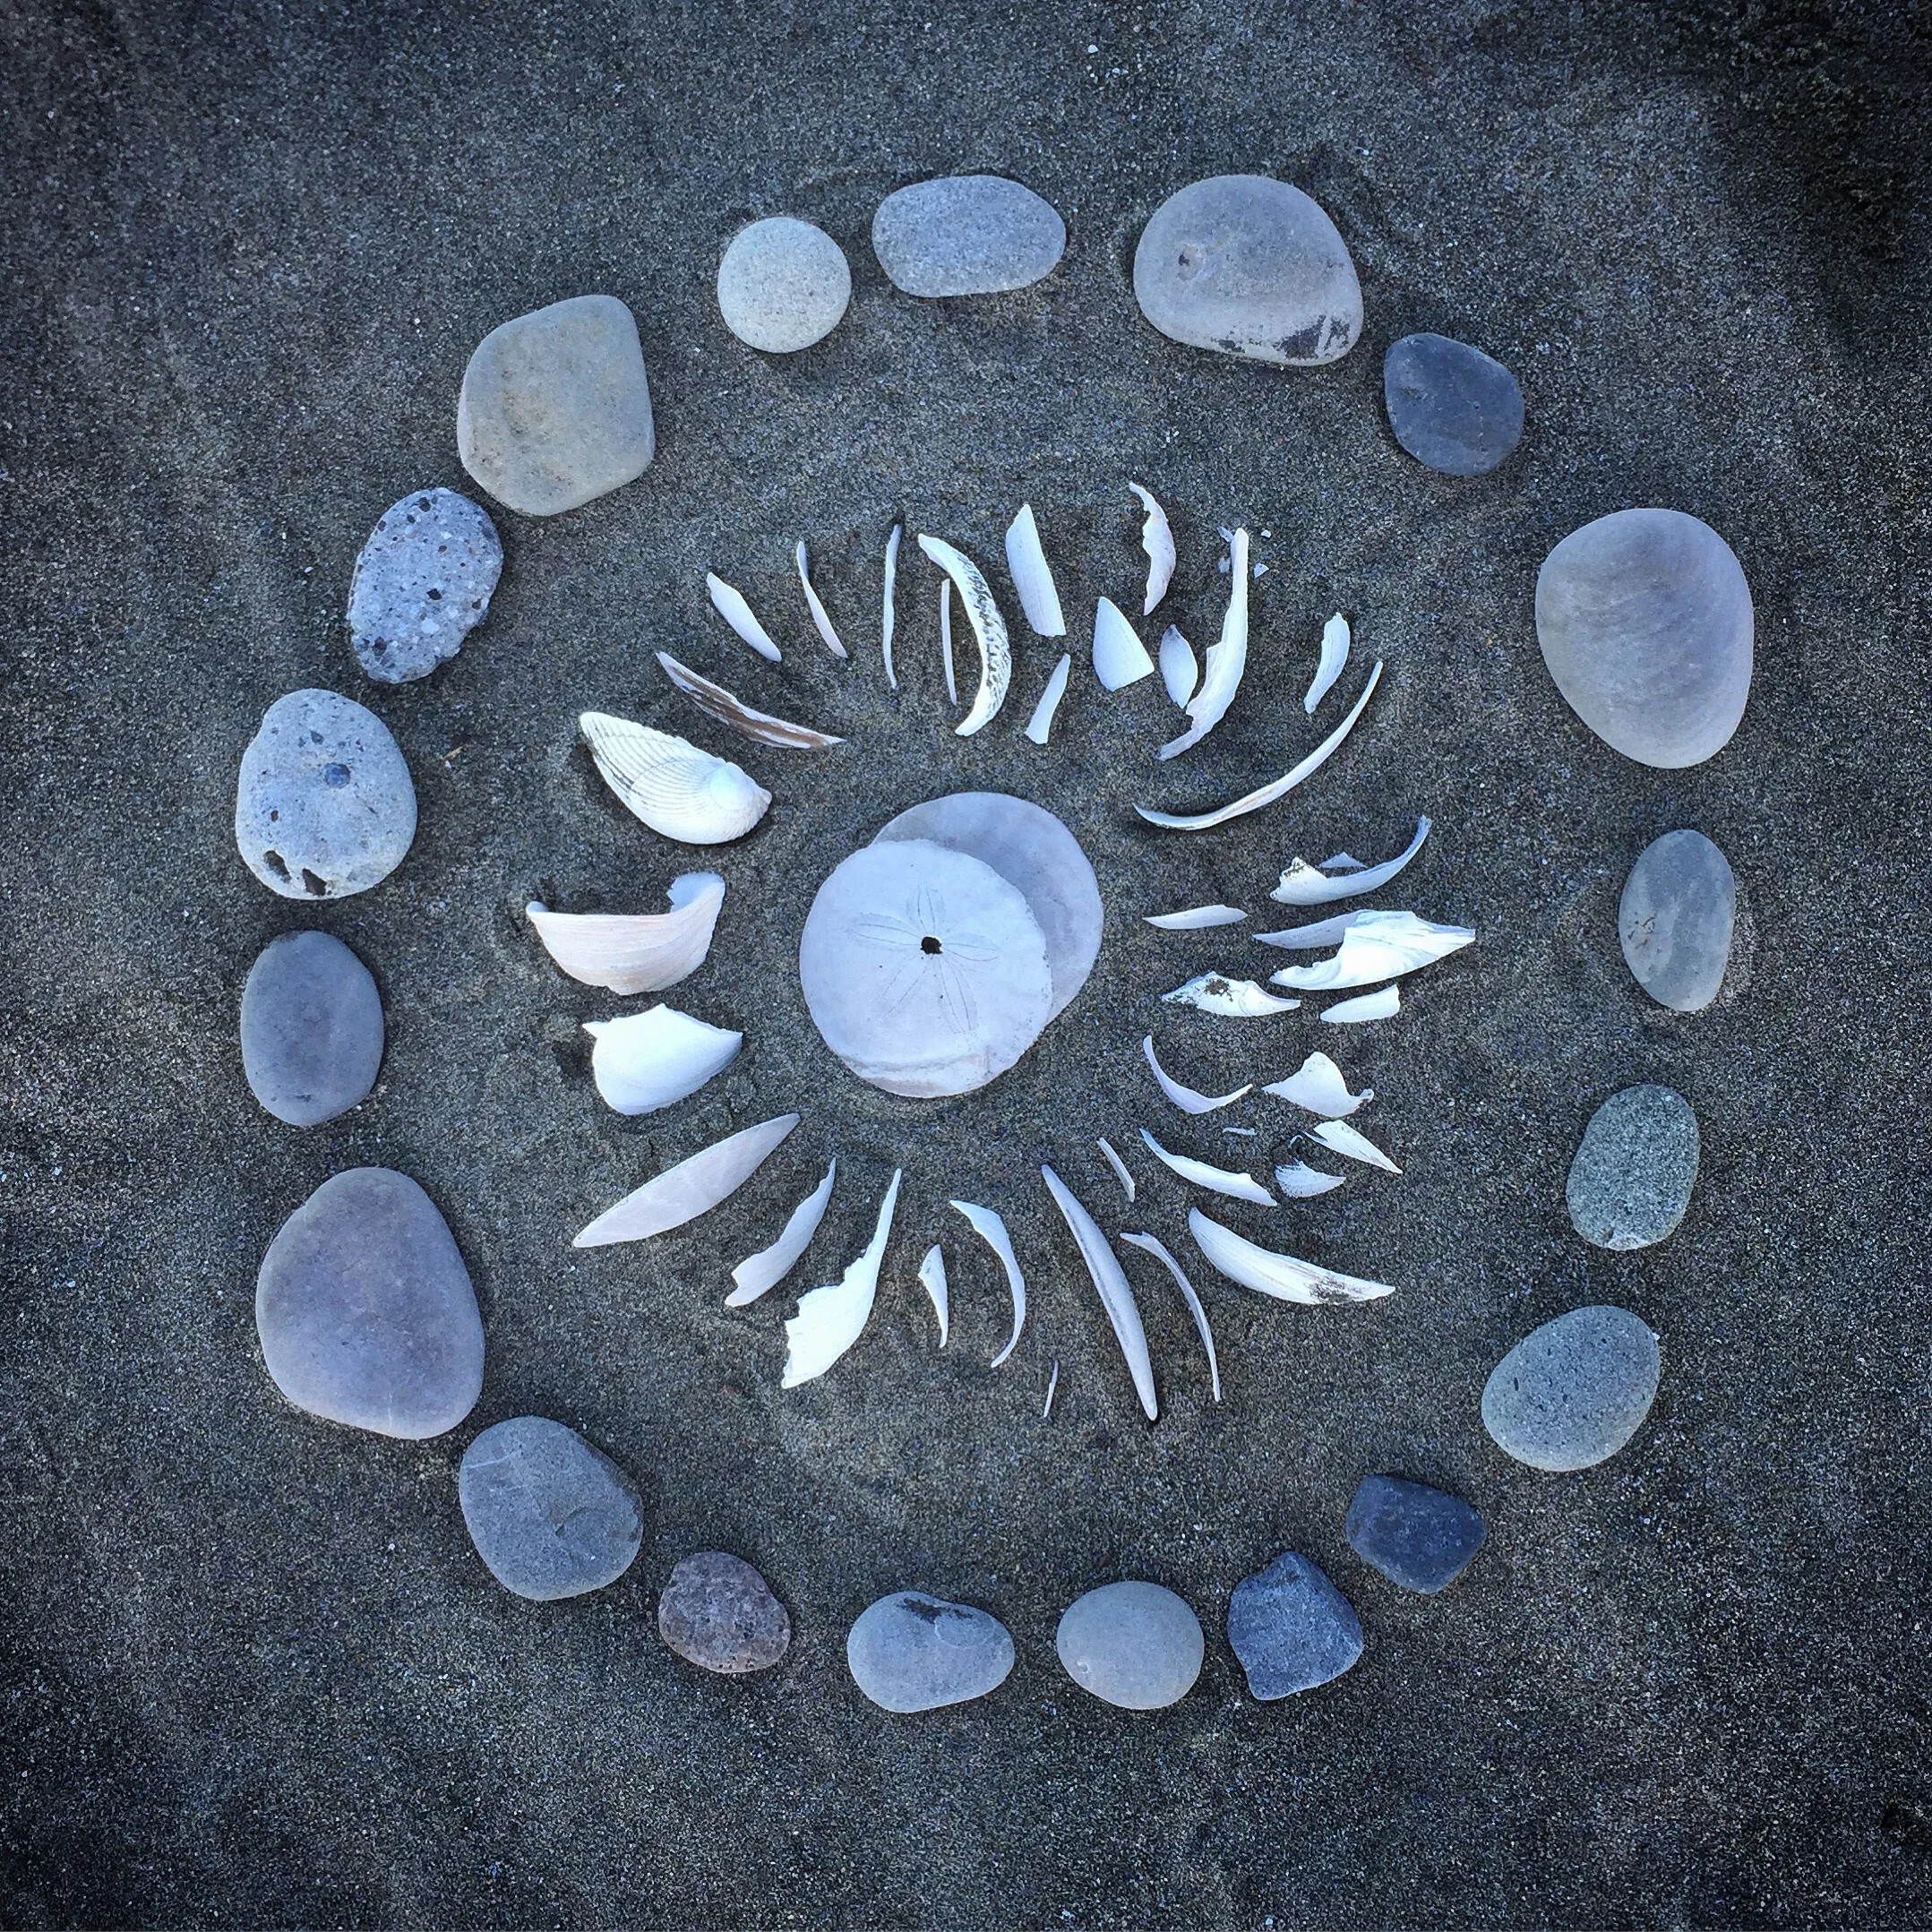
How will a shape like a leaf/seed/shell etc. fit into your design as a whole? Look for inspiration within the collected items as well. It can be helpful to find a unique eye-catching object for the centre point to begin.
Build out from the centre in concentric rings or use radial symmetry. There can be 3, 4, 5+ points radiating out as you develop the patterns.
When is the piece finished?
Ask yourself—Is it too crowded?
Have I run out of materials?
Have I left spaces for the artwork to "breathe"?
Where does my eye move when I look at my art piece?
Take a picture or sketch your naturepile to document before parting ways and leaving it for others to stumble upon and enjoy.